We’re excited to have you shoot a Picture Day with us. Below you’ll find a few things to help you have a successful shoot.
Photographer’s Guideline
The Ideal Picture:
Consistency is a very important aspect of volume photography. We try to keep all photos as consistent as possible.
The photos should be framed from the subject’s belly button to about 5 inches above their heads. Five inches is the size of a regular-sized can.
The camera lens should be just a little above the subject’s eye line. The center of the lens should be in the mid to lower part of the subjects’ foreheads.
The subject should always be centered in the photo as best as possible. The difference between their shoulders and the end of the photo should be as similar as possible on both sides.
Subjects’ arms should be close to their bodies on their sides. Not behind their backs. Hands can’t be on their waist, pockets, or together. We want their arms relaxed on their sides.
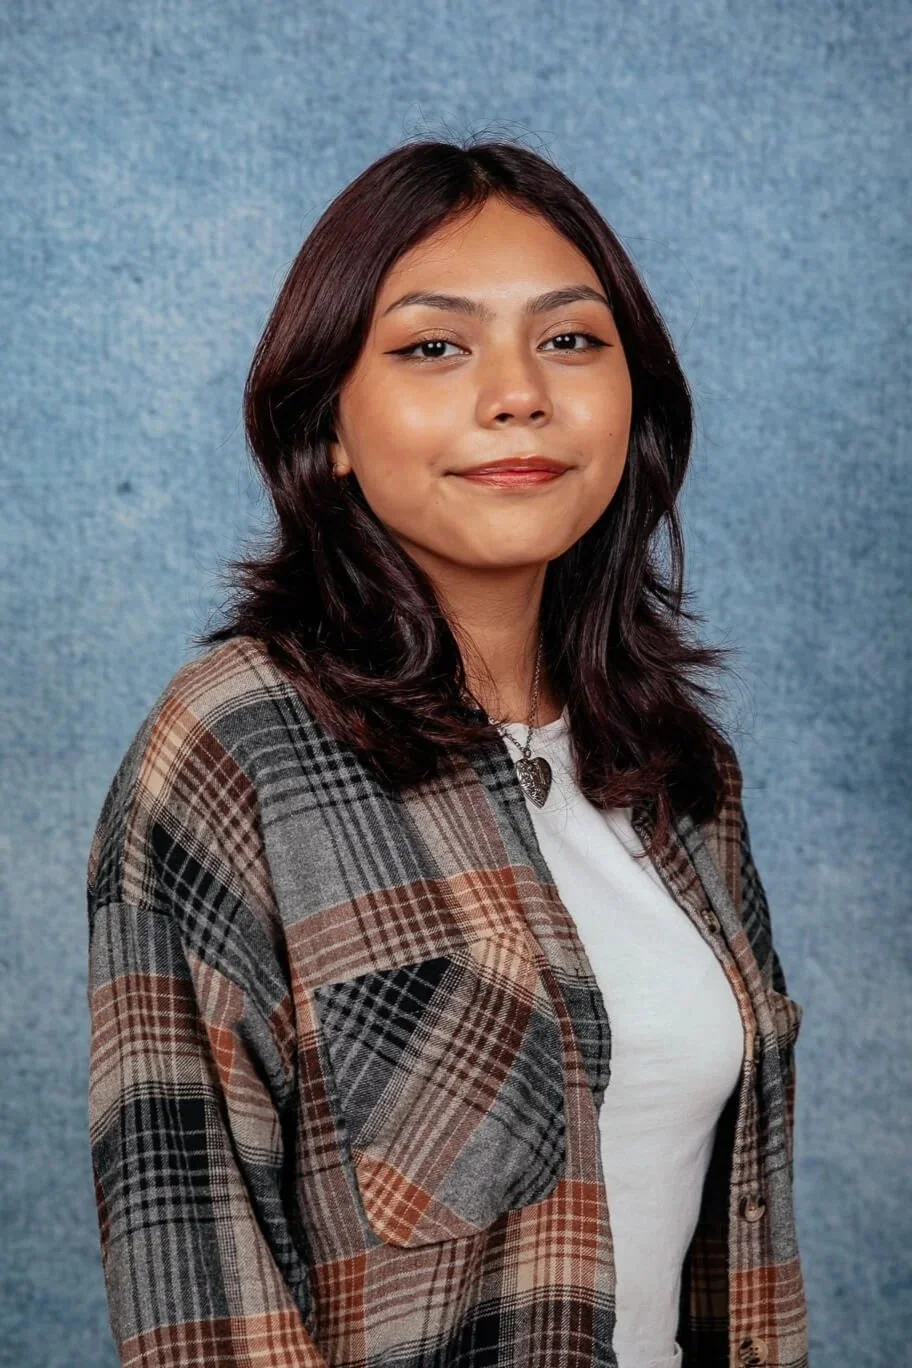
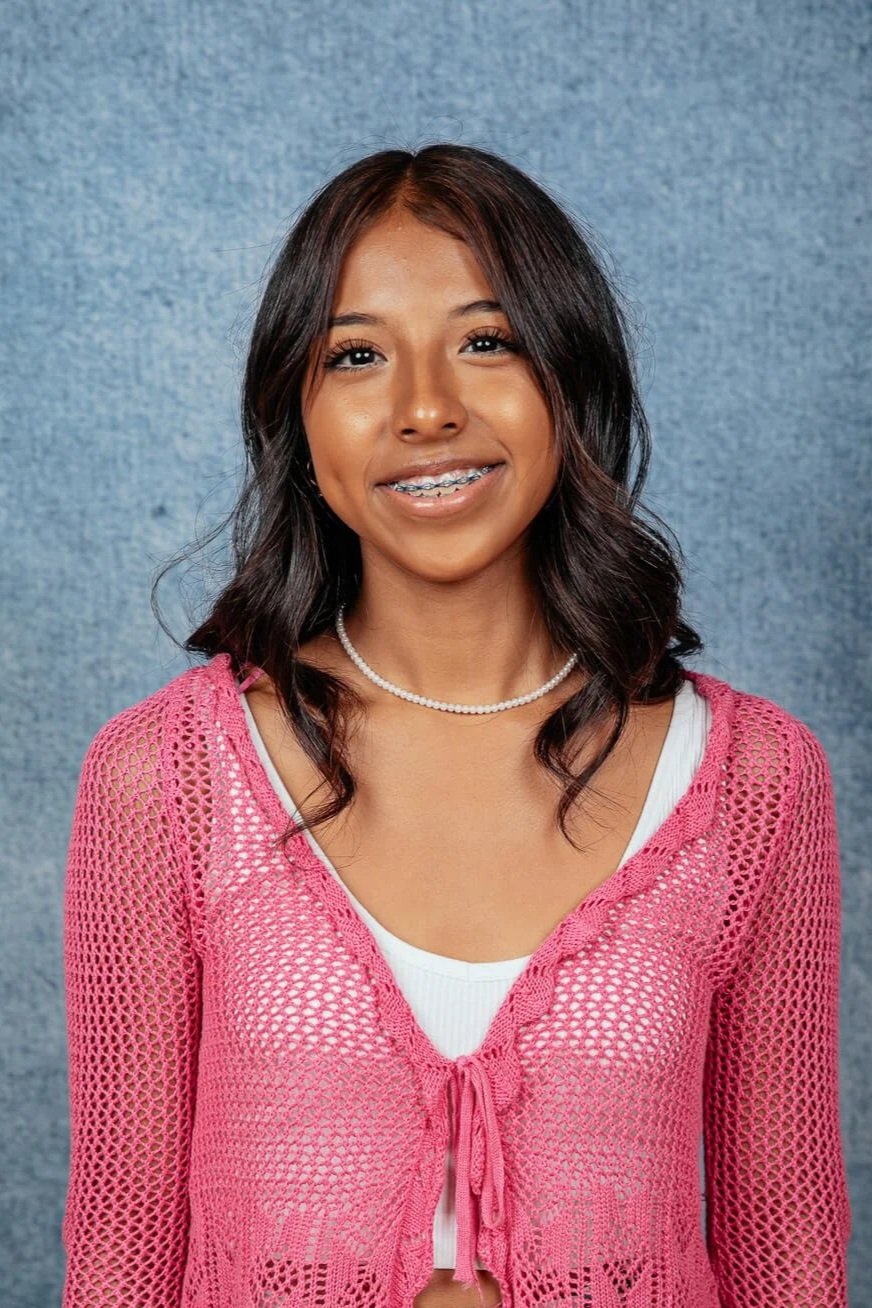
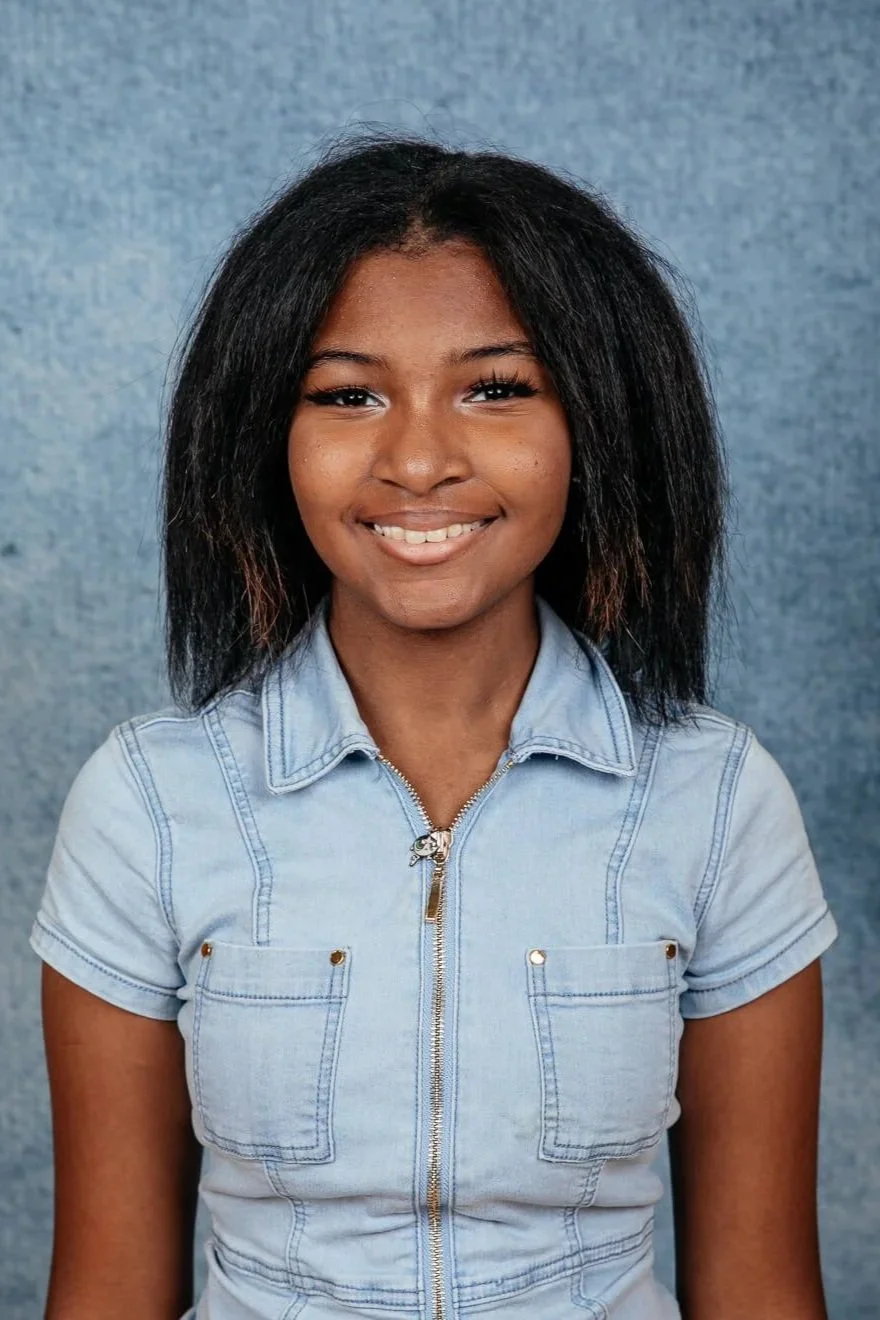
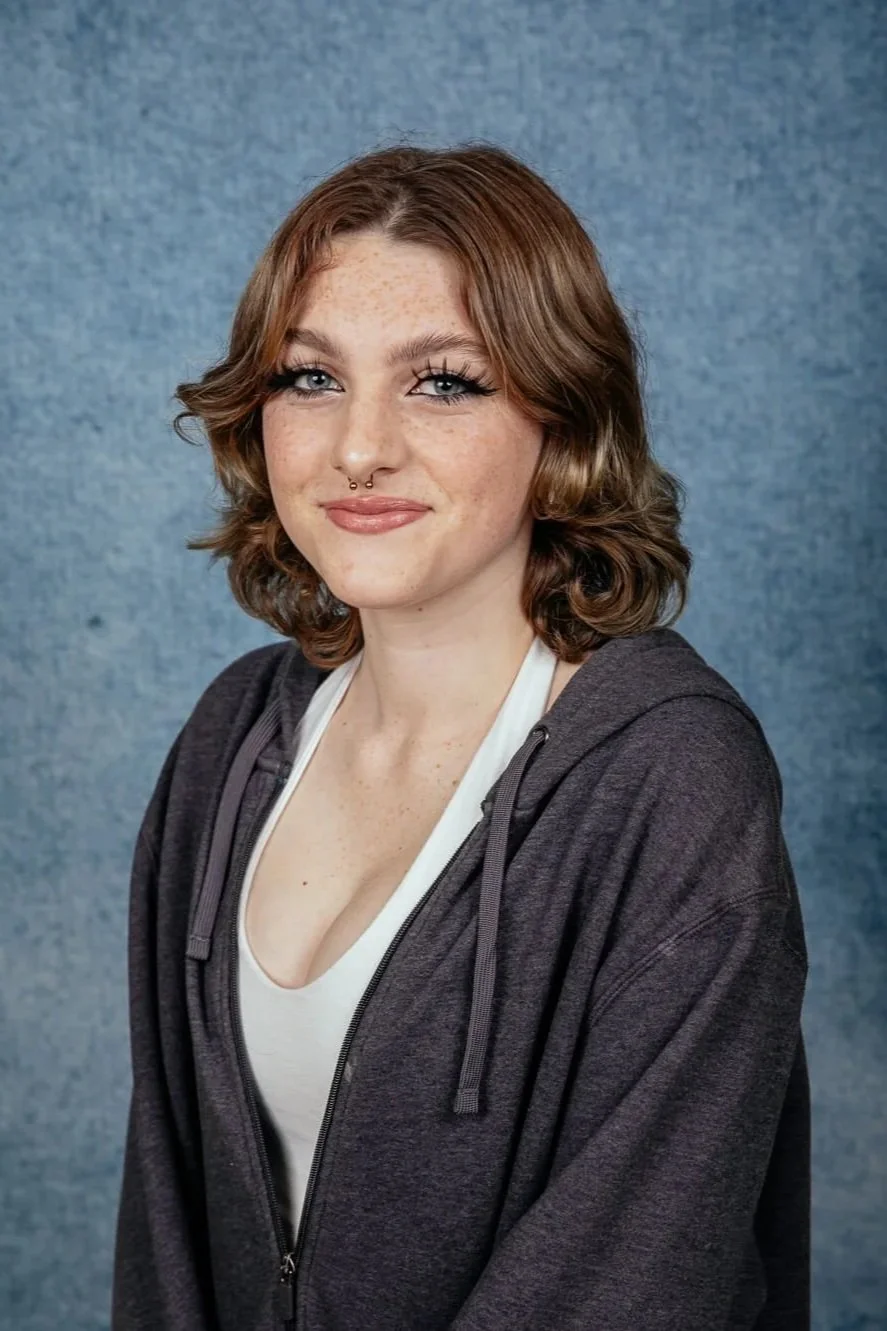
Below you can find examples of three perfect photos from one subject.
Things to Remember:
It’s very important to remember to photograph every single subject’s QR code. If you’re not sure the QR code photo is in focus, or well-framed, feel free to take a second QR code photo.
If you realize you started to photograph a student and forgot to take a picture of their QR code, please stop immediately and let your helper know.
The students will be standing up. The subject’s feet must be inside the box we make on the floor. Make sure they understand it, and don’t start taking pictures until they’re in the correct place.
We will have an ‘apple box’ for you to stand on for taller subjects. If subjects are too tall for you, we’ll use a stool and have them sit down.
Try to check your photos periodically by looking at the back of the camera after you take a picture. Try to notice if the subject is lighted on both sides, if the exposure looks good, and if the framing seems correct. You don’t have to do it for each subject, but try to create the habit of checking your photos once in a while. We want to catch the mistakes as soon as possible.
If you have any questions, or concerns, or if anything gets out of the normal procedure, please let the helper know, and they’ll contact Julio or Flavio.
Interacting with the subjects:
We know that the interaction with each subject during Picture Day is minimal, but we still want to provide a great experience for the students and school staff.
As you photograph the QR code, please greet the subject, preferably by their names.
You can remind them to have good posture and straighten their backs if you feel necessary.
Our goal is to take twelve good photos from each student: four with the subject turned to one side, four turned to the other side, and four with the subject squared to you.
If the subject blinks, look away, and you feel like one of the photos is not good, do not count them. We would like twelve good photos from each subject.
Try to get the subject to change their smile within the four pictures on each side. I know that some people will still have the same face on all four shots, but others will react and change their expressions. So, if the subject has a more serious face after taking two photos, ask them for a ‘big smile’.
Another way to change the aesthetic of the photo is to ask the subject to turn their faces a little to the side. You can also ask them to raise or lower their chins to change the pose.
After the last photo is taken, please thank the subject for stopping by.
The last picture:
The last picture you’ll take from each student is very important because it’s the one that goes on the IDs.
Make sure the subject is square to you on the last photo, Not turned to the sides.
Subject MUST have their eyes open and look straight at the camera. their faces can’t be turned to the side.
If the last photo is not perfect, please take additional photos until the last photo is good to go on the ID.
They can be smiling or have a more serious face.
Below you can find examples of three perfect last photos.